Email spoofing is one of those security threats that sounds technical but hits you hard when it happens. I learned this the hard way a few years back when one of my client’s domains was used to send fake invoices to their customers. The damage to their reputation took months to repair, and it could have been entirely prevented with proper DNS configuration.
The good news? Protecting your domain from email spoofing isn’t rocket science. It just requires setting up a few DNS records correctly and monitoring them regularly. Let’s walk through exactly how to do this.
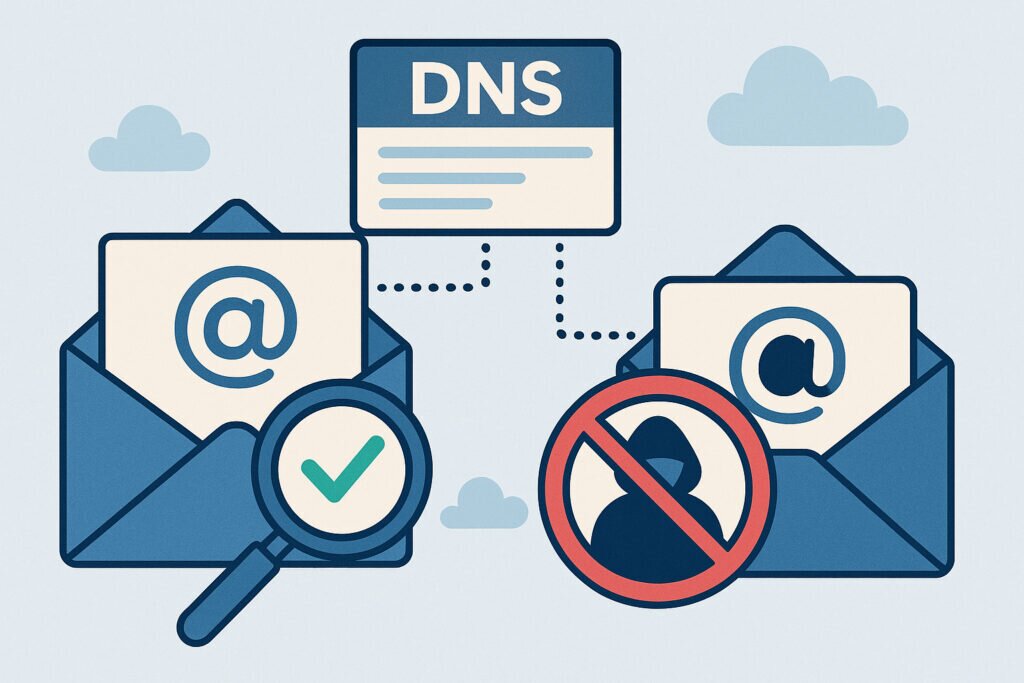
Understanding the Email Spoofing Problem
Email spoofing happens when someone sends emails that appear to come from your domain, even though they have no connection to your organization. Scammers love this technique because people trust emails from familiar domains. They’ll use your domain to send phishing emails, spread malware, or conduct fraud – all while your brand takes the hit.
The scary part is how easy it is to spoof emails without proper protection. Anyone with basic technical knowledge can configure their mail server to claim it’s sending from your domain. Without the right DNS records in place, receiving mail servers have no way to verify whether the email is legitimate or fake.
The Three Essential DNS Records for Email Security
SPF (Sender Policy Framework) is your first line of defense. This DNS record specifies which mail servers are authorized to send emails on behalf of your domain. When a receiving server gets an email claiming to be from your domain, it checks your SPF record to verify the sender is legitimate.
Here’s a practical example. If you only send emails through Google Workspace, your SPF record might look like this:
v=spf1 include:_spf.google.com ~all
The “~all” at the end tells receiving servers to soft-fail emails from unauthorized sources. You can use “-all” for a hard fail, but I recommend starting with soft-fail to avoid blocking legitimate emails during the setup phase.
DKIM (DomainKeys Identified Mail) adds a digital signature to your outgoing emails. Your mail server signs each message with a private key, and receiving servers verify the signature using a public key published in your DNS records. This proves the email hasn’t been tampered with during transit.
Setting up DKIM requires generating a key pair and adding the public key to your DNS. Most email service providers handle this automatically, but you’ll need to add the DNS record they provide.
DMARC (Domain-based Message Authentication, Reporting and Conformance) ties everything together. It tells receiving servers what to do with emails that fail SPF or DKIM checks and provides reporting so you can monitor authentication attempts.
Step-by-Step Configuration Process
Start with SPF because it’s the simplest. Log into your DNS management panel and create a new TXT record for your root domain. The content should list all legitimate sources of email for your domain. If you use multiple email services, include them all:
v=spf1 include:_spf.google.com include:servers.mcsv.net ~all
Be careful not to exceed 10 DNS lookups in your SPF record – this is a common mistake that breaks SPF validation. If you need more sources, consider using SPF flattening or consolidating your email infrastructure.
Next, configure DKIM. Your email provider should give you specific DKIM records to add. These are also TXT records but use a selector subdomain like “default._domainkey.yourdomain.com”. Copy the exact record your provider gives you – even a single character mistake will break DKIM validation.
Finally, implement DMARC. Start with a monitoring-only policy while you verify everything works correctly:
v=DMARC1; p=none; rua=mailto:dmarc-reports@yourdomain.com
This policy won’t block anything but sends you daily reports about authentication results. Monitor these reports for at least two weeks. Once you’re confident all legitimate email passes authentication, gradually strengthen your policy to “quarantine” and eventually “reject”.
Common Mistakes and How to Avoid Them
The biggest mistake I see is setting up these records once and forgetting about them. Your email infrastructure changes over time. You might add a new marketing platform, switch email providers, or start using a new ticketing system that sends emails. Each change requires updating your SPF record.
Another common issue is publishing multiple SPF records. DNS only allows one SPF record per domain. If you have multiple TXT records starting with “v=spf1”, only one will be used, and it might not be the one you expect.
DMARC reports often go unchecked. These reports contain valuable information about who’s sending emails from your domain and whether they’re authenticating correctly. Set up a dedicated email address for DMARC reports and review them regularly. I use automated tools to parse these reports because the raw XML format is painful to read.
Monitoring and Maintenance
Set up a system to monitor your DNS records for unauthorized changes. I once dealt with a situation where a disgruntled employee modified SPF records, causing email delivery problems that took days to diagnose. Automated monitoring would have caught this immediately.
Test your configuration regularly using online tools. Send test emails to services like mail-tester.com to verify everything works as expected. Do this quarterly, or whenever you make infrastructure changes.
Keep your DMARC policy aligned with your actual email practices. If you’re blocking legitimate emails, you need to either fix your authentication or adjust your policy. The goal is security without disrupting business operations.
Beyond Basic Protection
Once you’ve mastered SPF, DKIM, and DMARC, consider additional measures like MTA-STS (Mail Transfer Agent Strict Transport Security) and BIMI (Brand Indicators for Message Identification). These enhance security and improve email deliverability, though they’re not as critical as the core three.
Regular audits of your subdomain DNS records are equally important. Forgotten subdomains with outdated DNS configurations can become backdoors for spoofing attacks. Tools like DNSVigil can automatically discover all subdomains associated with your domain and monitor their DNS health continuously.
Email spoofing protection isn’t a one-time setup – it’s an ongoing process. But with proper DNS configuration and regular monitoring, you can protect your domain reputation and keep your organization safe from this common attack vector. The initial setup takes a few hours, but it prevents countless headaches down the road.